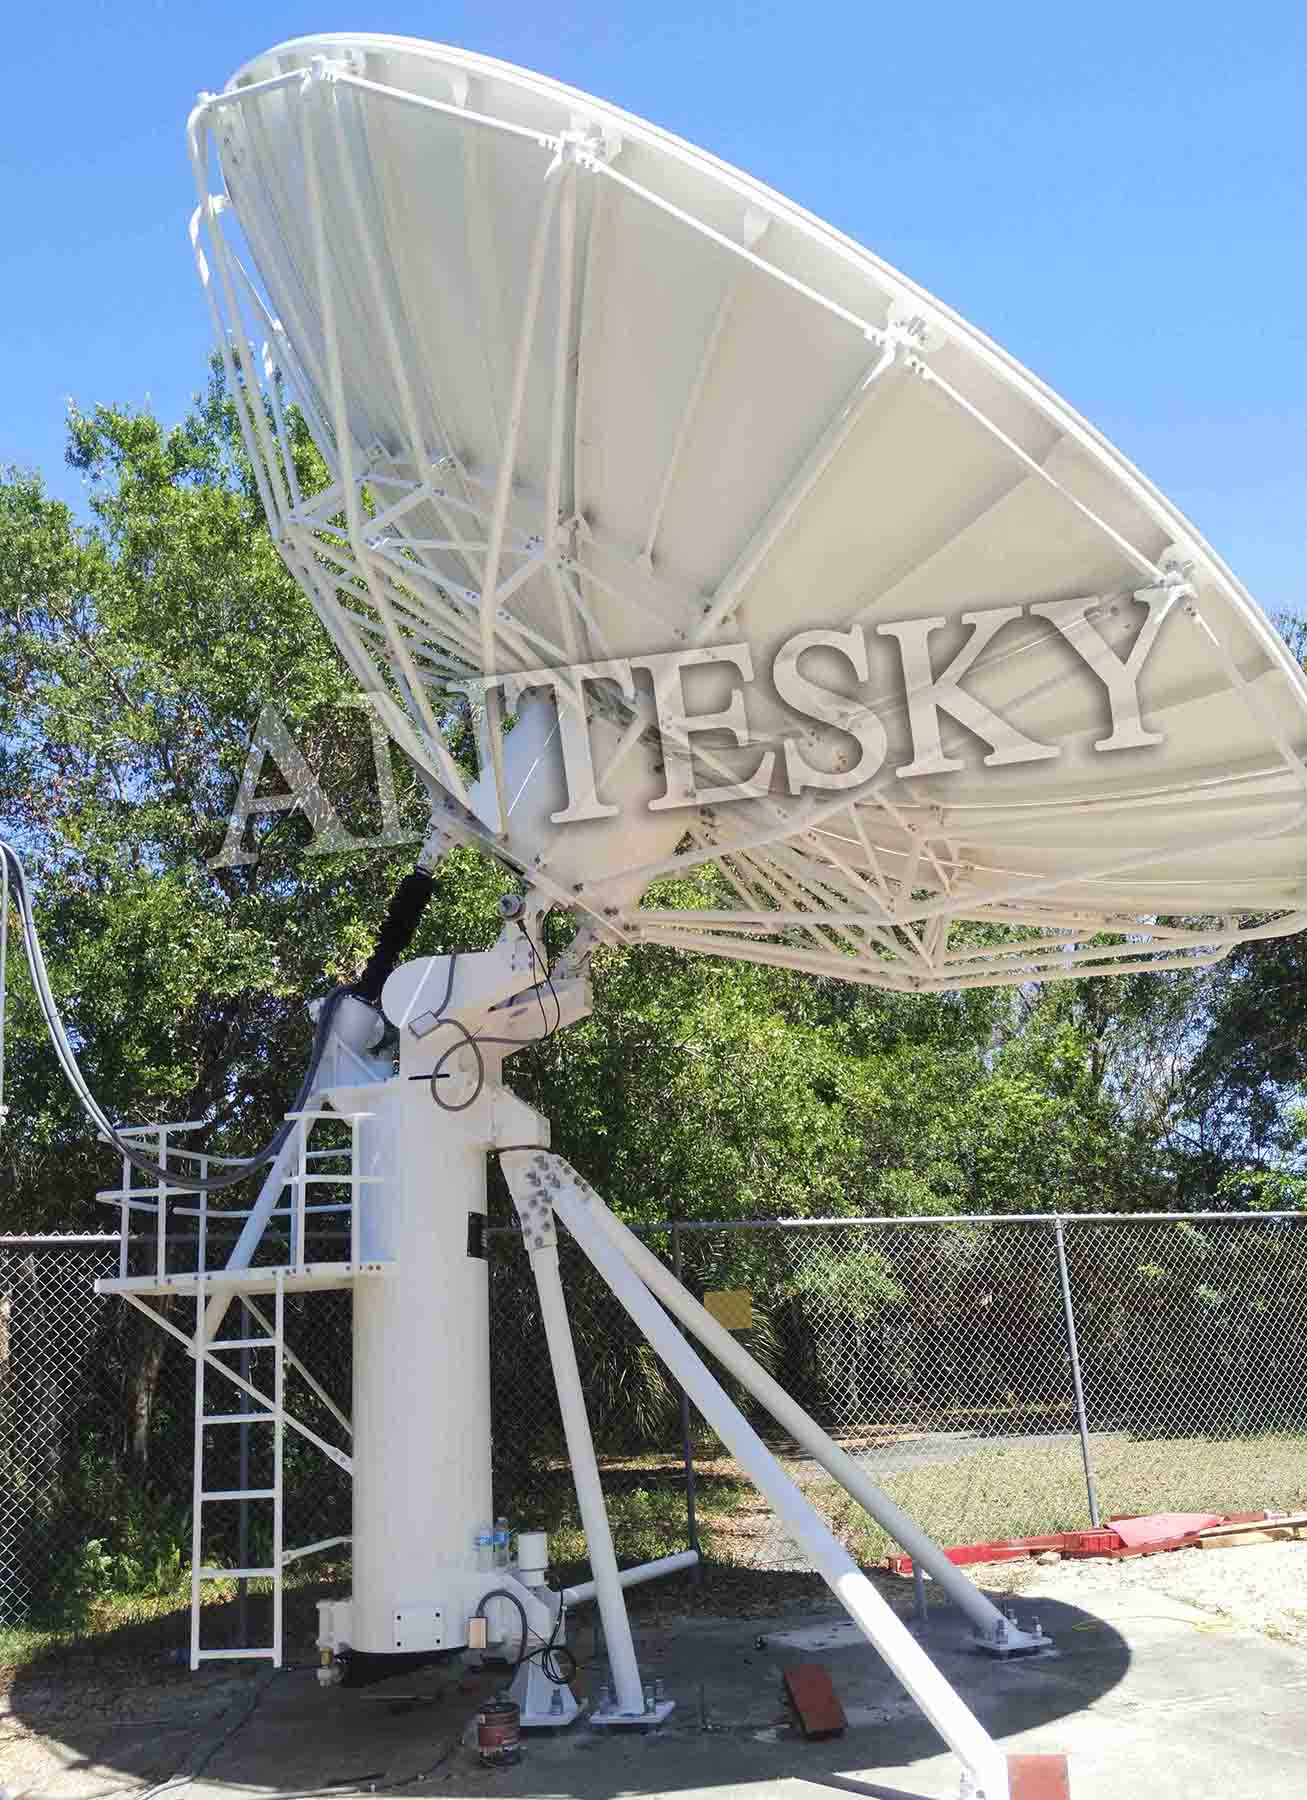
Today let us take this 6.2m antenna
http://www.antesky.com/project/6-2m-buy-huge-old-big-large-satellite-dish/as an example to share installation instruction with you. Actually, fixed station antennas in different diameters have the similar structure, so as the the installation steps. We hope you can learn how to install antenna with high efficiency from this article.
The 6.2m antenna consists of the pedestal, reflector, sub reflector and feed system, please see the below diagram.
Before installation of Large Satellite Dish antenna
1.Requirements for siteA firm level ground must be provided around the foundation for the reflector assembly and hoist, and open up roads for lifting machinery to and from the site
Equipment Check
First check whether the outer package of the component is complete;
If the paint film or coating on the surface of the steel member falls off or corrodes, it should be removed and repaired;
The feeders, waveguides, coaxial cables and sub-reflector and feed hron should be stored indoors to avoid being exposed to moisture.
2. Installation process2.1 Foundation requirements of 6.2m Large Satellite Dish antennaThe foundation must be constructed according to the foundation drawing under the required environment. It will take 12 to 15 days to make the concrete dry, and then it can be used. Pay much attention to the anchor bolts during construction. Coat the grease on the exposed part of bolts and wrap them up till the antenna is installed in order to prevent them from damage before installation.
2.2 Pedestal installation of 6.2m Large Satellite Dish antennaThe pedestal is elevation-over-azimuth kingpost mount and mainly consists of kingpost up tripod, inclined supporting legs, azimuth and elevation drive mechanisms as well as both azimuth and elevation position transducers, as shown below.
Assemble according to the assembly order , and remove dirt on the components;
Connecting bolts should be inserted and covered with nuts, but should not be tightened at beginning. Review all fastening bolts after installation of all components. Please refer to the below photos of pedestal installation in detail.
2.3 Reflector installation of 6.2m earth station antennaThe reflector consists of a hub, 16 individual panels and 16 backup support struts. The antenna is a complete structure system which 16 panels are connected by the bolts.
2.3.1 Hub of 6.2m antenna
Hub is the biggest and the heaviest part of antenna. Put the hub on a firm level ground.
2.3.2 Back structure installation of 6.2m earth station antenna
Connect back structure and hub by bolts. Review all fastening bolts after installation.
2.3.3 Panels installation and hoisting of 6.2m earth station antenna
Assemble 16 reflectors , tighten all fasteners. (The marks of reflector and the marks of back structure are corresponding) then inspect and ensure installation precision.
Install 16 panel connection strap and panel according to number.
2.4 Feed system assembly of 6.2m antennaDisassembly four hoist points, Clean the surfaces of both connection flange of the feed and the connection flange of the network. Lift and install the feed system in the connection flange of the hub and fasten the bolts. Be careful for the horn cover so as to prevent it from damage. Bind hoist cable firmly, and try to keep vertical when starting to hoist.
2.5 Sub-reflector Assembly of 6.2m antennaa.Take out the sub-reflector from packing crate, and put on the platform. Connect the four sub-reflector supports according to the corresponding numbers.
b.Try to keep vertical, and then fasten all screws
c.Adjusting height and distance between sub-reflector and hub is important to get the better signal. Before leaving factory, it has been adjusted ready, on site the customers only do the fine-adjustment. Please contact with us for the detailed parameter. Thanks!
That’s all the brief installation steps for large satellite dish. For easier and faster process, we’d optimized structure and adjusted sub-reflector distance before leaving factory.
Actually, fixed station antennas in different diameters have the similar structure, so as the the installation steps. Please refer to the above installation flow chart. Welcome to contact with Antesky at
http://www.antesky.com/for further question via
sales@antesky.com


